How to Embroider Hats by Hand
Baseball caps and bucket hats are some of the most popular headwear choices around. But what if you could make them even better with a little personalization? Many crafty types learn how to embroider hats by hand so they can enjoy unique, bespoke creations.
We’ve put together this quick guide on to how to embroider hats so you can have a go at making personalized hats. Follow our tips and share them with your friends.
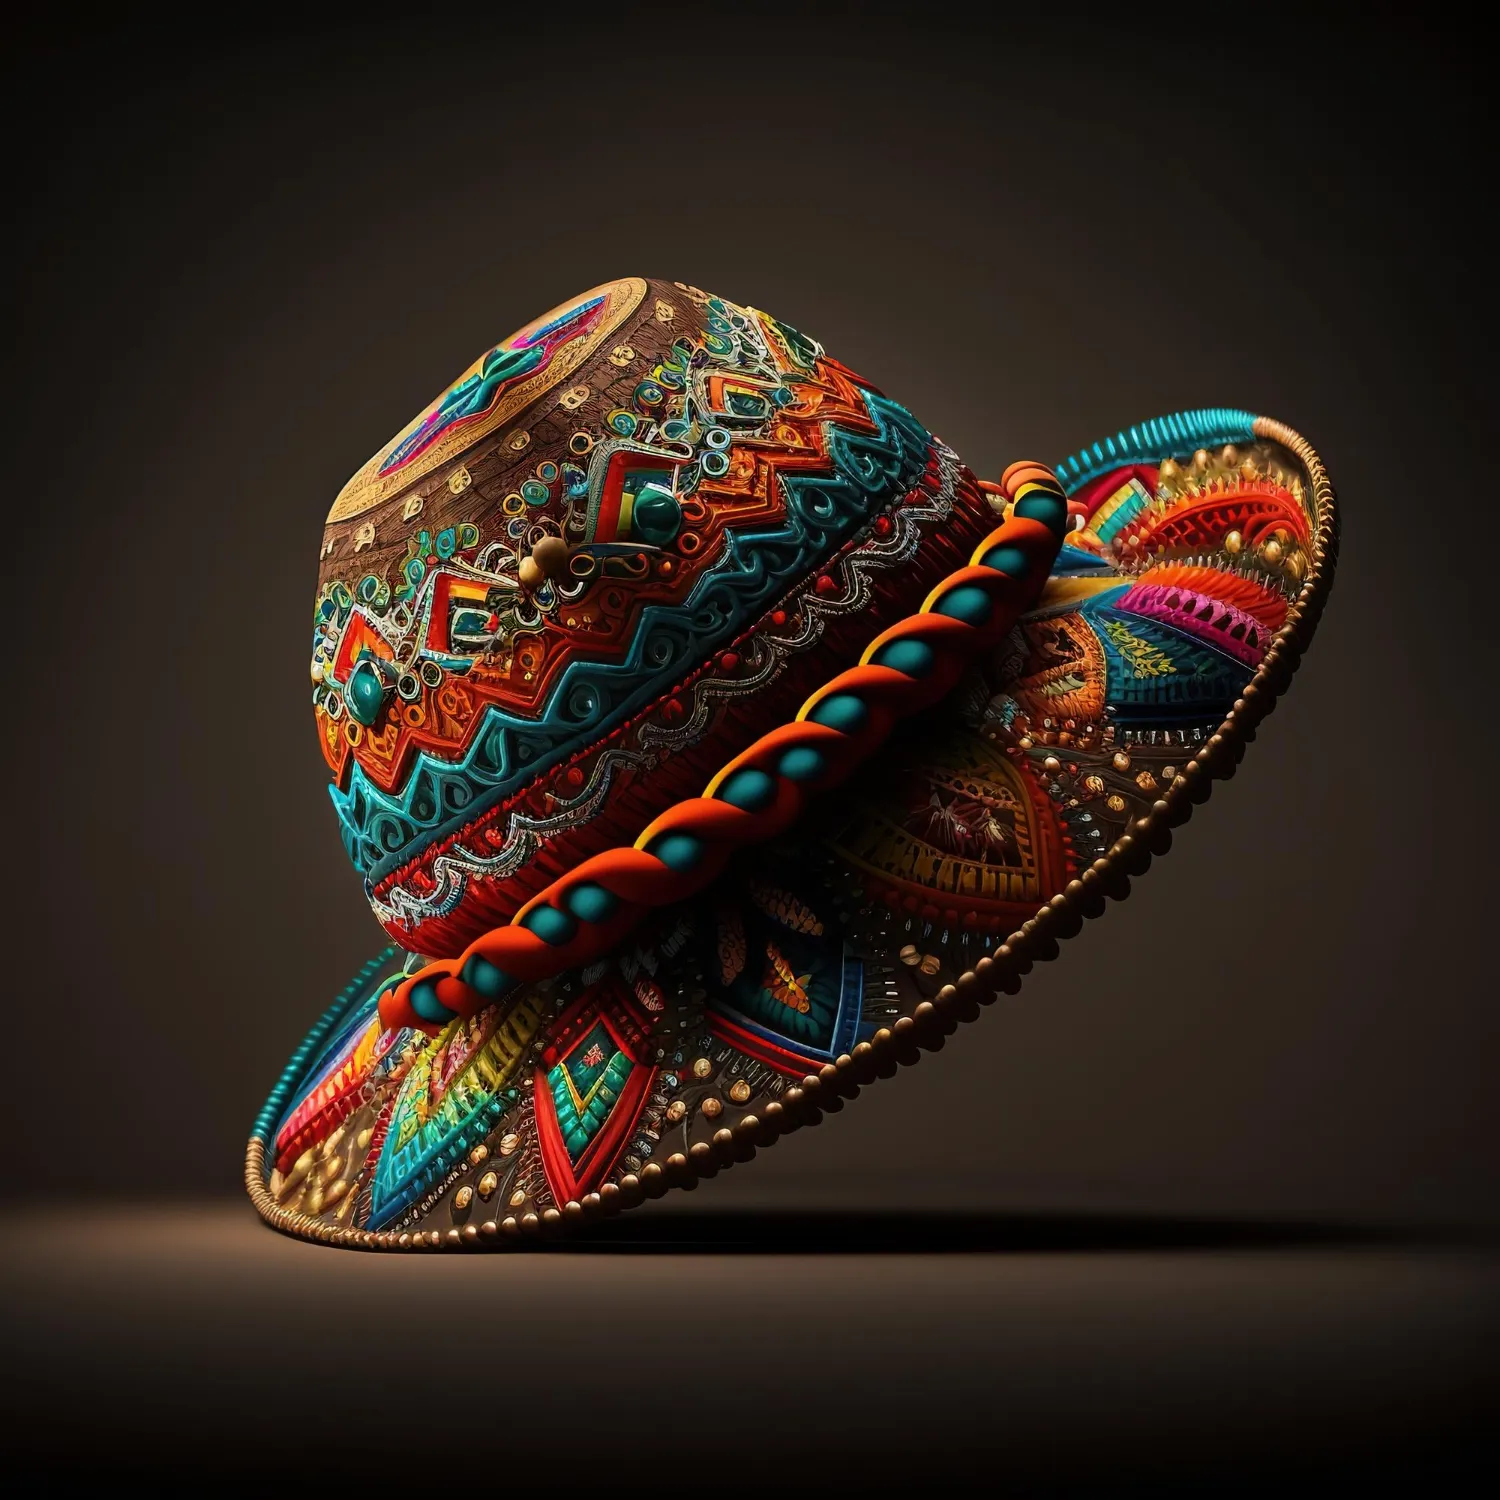
How to Embroider Hats: The Basics
Regardless of the type of embroidery project you’re embarking on, you’ll need the following tools and materials:
- A plain hat
- Thread
- Needles
- Sharp scissors
- Embroidery hoop
- Fabric chalk or transferrable stencils
The chalk or stencils are to mark the hat with what you want to embroider. Talk to your local craft store about water-soluble pens for fabric or alternatives. Of course, if you want to embroider freehand, you can ignore this step. That said, we only recommend freehand embroidery for experts.
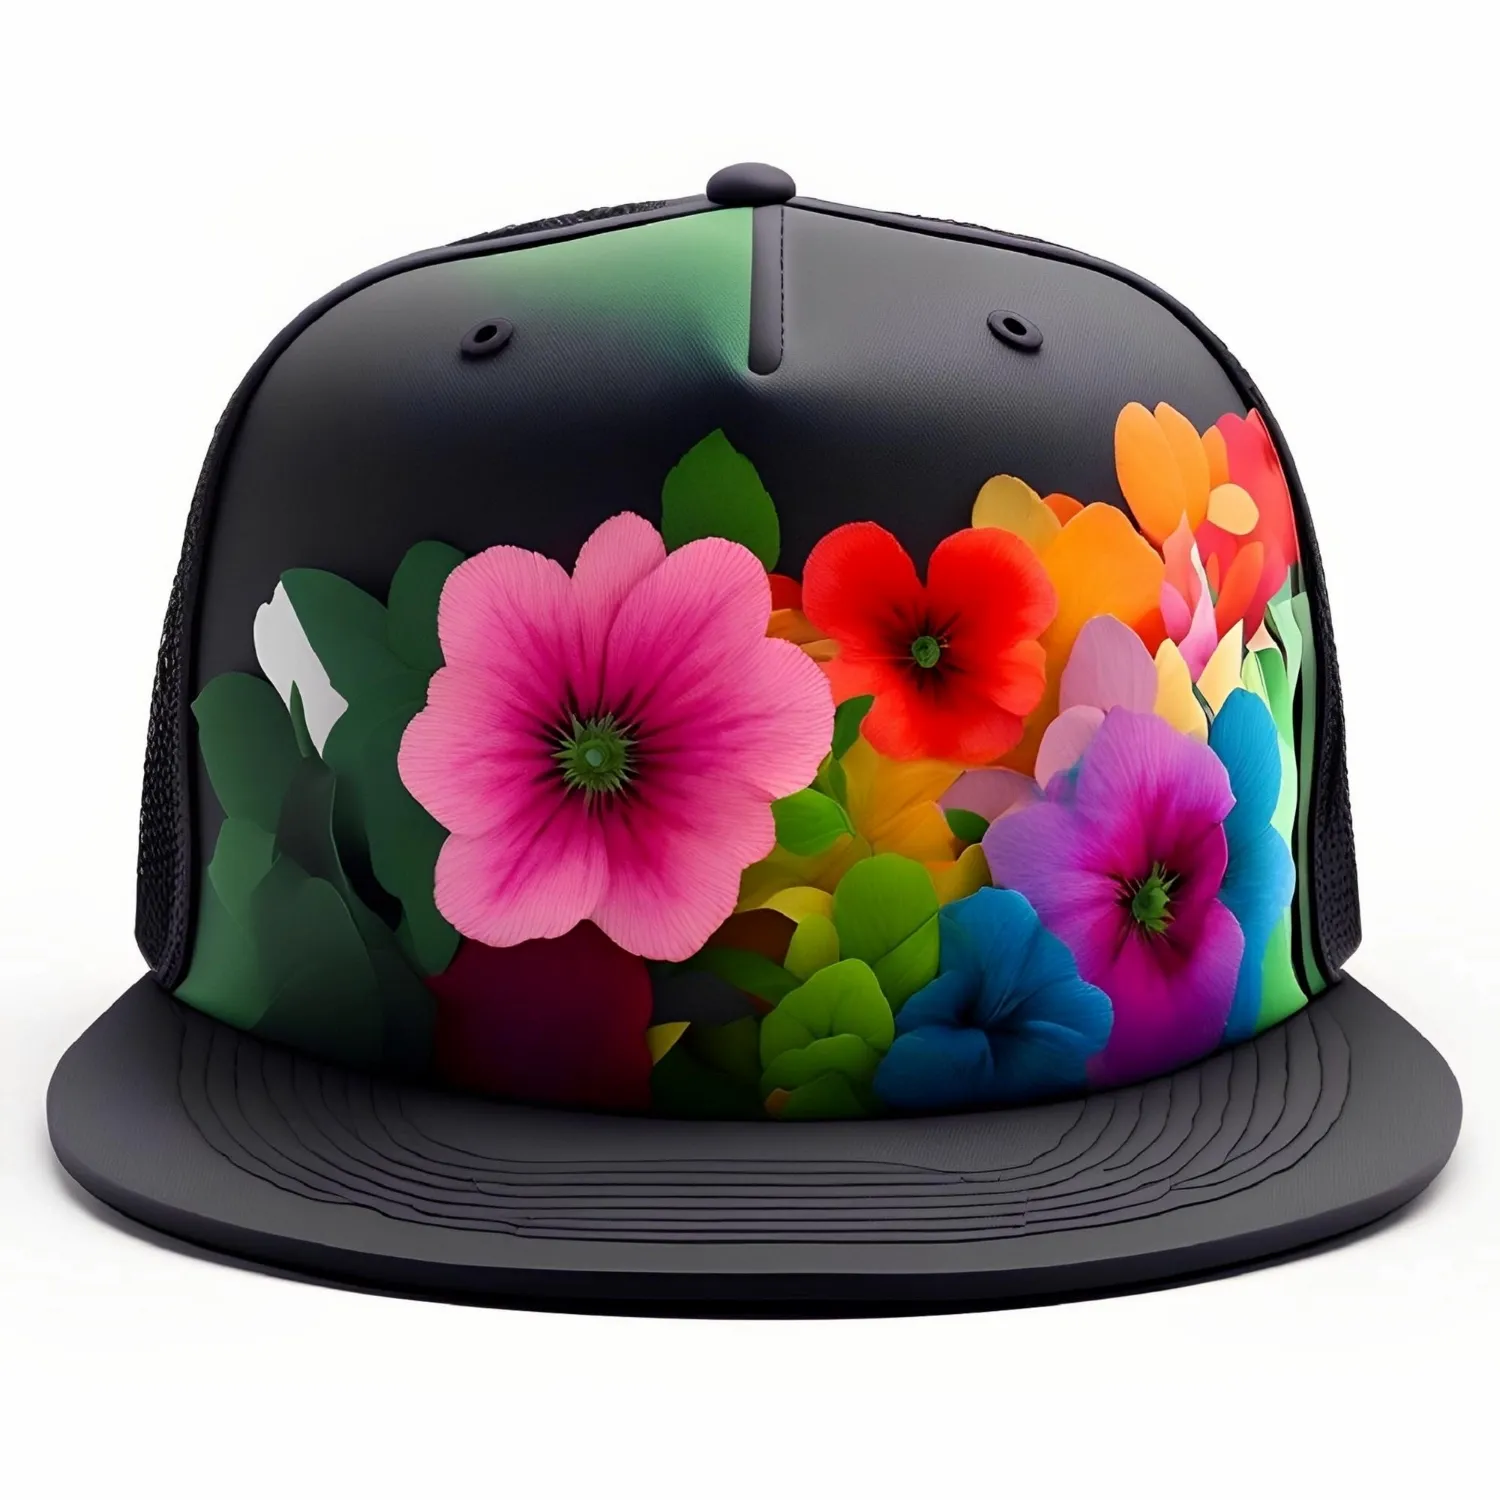
Types of Hat to Use
When learning how to embroider hats by hand it’s important to choose a hat that doesn’t make your job more difficult. For baseball caps, choose an unstructured hat.
This means no plastic inserts, often found in baseball caps with high, stiff fronts. The fabric you’re going to embroider should be flexible and not overly stiff. A plastic insert will prevent your needle from going through the material.
You can also embroider on soft beanies, but this is trickier by hand. Beanie material is stretchy and it’s easier to distort the design. Embroidering a beanie is simpler with a sewing or embroidery machine.
One of the easiest hats to embroider is a bucket hat or cap. Bucket caps tend not to have structural stabilizers. You can embroider on the brim or the body, and you have a lot of space to work with. This makes them a great choice when learning how to embroider hats.
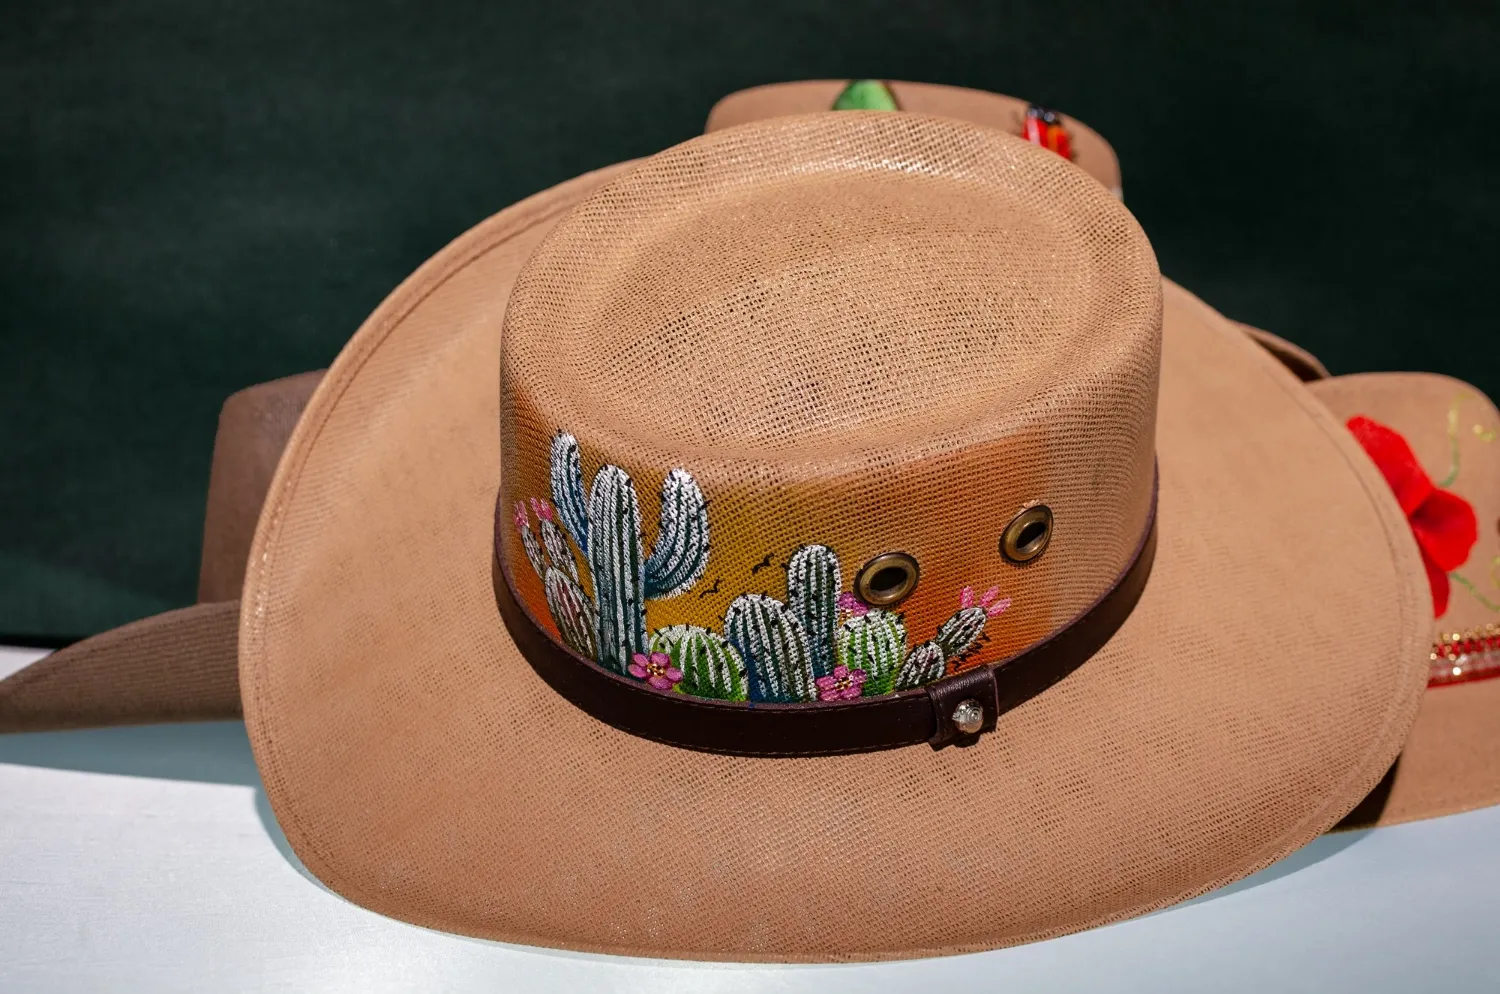
Types of Thread for Embroidering Hats
Decide on your design first as this will determine what color and thickness of thread to invest in. Beginners should look for embroidery floss or standard embroidery thread. This thread is made of six strands. More advanced embroiderers can separate the strands out to make thinner threads.
Pearl cotton is a heavier option. This thread is made of two strands twisted together and can’t be separated.
When choosing embroidery thread, remember that the higher the number on the packet, the lighter the thread.
Needles to Use When Embroidering Hats
Choosing embroidery needles is important for making hand stitching as easy as possible. You want a sharp needle with an eye large enough for your chosen thread. Avoid specialist needles like beading needles – unless you want to add beads and sequins to your design.
Standard embroidery needles, sometimes called crewel needles, are ideal. You usually find sets of various sizes so you can use them with multiple thicknesses of thread.
If you’re planning to use thick thread for a chunky design, a chenille needle is ideal. These are designed for thicker gauges of thread and often have a larger eye.
Embroidery Hoop Sizes
When you embroider a hat, you’re only ever sewing over a small section of fabric. The ideal size hoop for this is 3-4 inches.
The hoop keeps the material flat and in place so that your project turns out the way you envisaged. Without an embroidery hoop, you might find that fabric puckers or stretches in ways that distort your design.
If you’re doing embroidery in several areas of the hat, simply move the hoop accordingly.
Best Techniques When Learning How to Embroider Hats
To embroider a small picture onto your hat, follow these steps:
- Choose where you want your design to be.
- Place the inner ring of the embroidery hoop on the inside of the hat.
- Secure it in place by fastening the outer ring of the hoop in the corresponding place on the outside of the hat.
- Tighten the embroidery hoop securely.
- Transfer or mark the design on the fabric.
- Use satin stitches to fill an area with color. Use several different color threads to create the impression of shading.
- For single lines of embroidery, a basic straight stitch is fine.
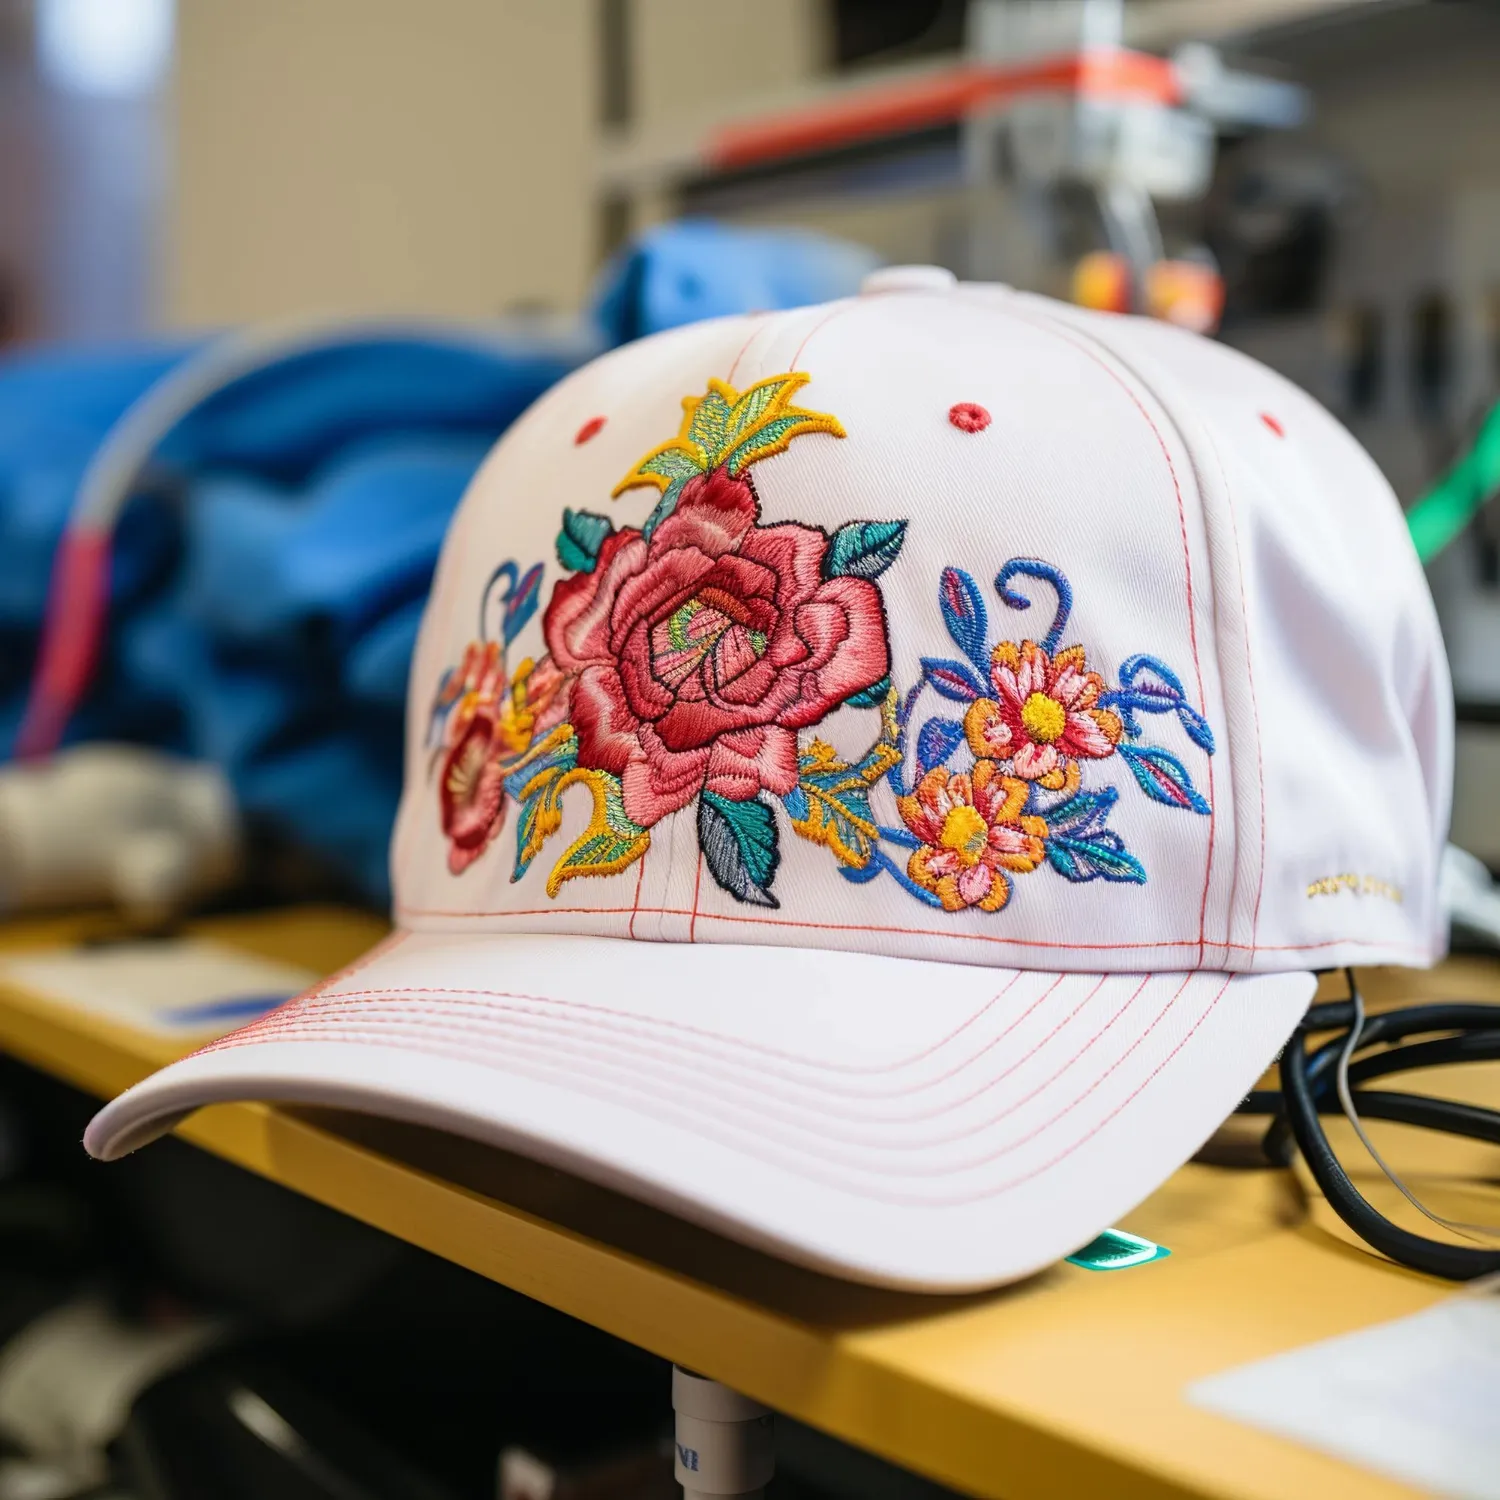
Experiment with different lengths of stitches to give your designs depth and make them unique.
To embroider letters, do the following:
- Measure each letter carefully ahead of transferring the design onto your hat.
- Take the curve of the hat into account when transferring the letters onto the fabric.
- Place the hat on the wearer’s head before stitching to check the letters are straight and centered.
- Use satin stitch to fill in large block letters. You can edge them with a different color to make them really stand out. Use straight stitch for this part.
As you gain confidence in your embroidery skills, you can try combining letters and images. You can also print out designs and use water-soluble inks to transfer them onto fabric. This allows you to create professional-looking hats you can give as gifts.
Simple Alternatives to Hat Embroidery
When you simply don’t have the time or energy to learn how to embroider hats, Custom Hats Now has got your back. Decide on your design, choose your hat style, and within a few clicks, you’ve placed your order. Take a look at the options available via our website and call us at 1-877-204-7351 if you have any questions.